
A content piece keeps an idea, its creative and its publishing settings together. Start with a title and a short plan. You can add the media, accounts and publishing time when they are ready.
Create your first piece
- 01Select the workspace and brand you want to work in. Content belongs to the selected brand.
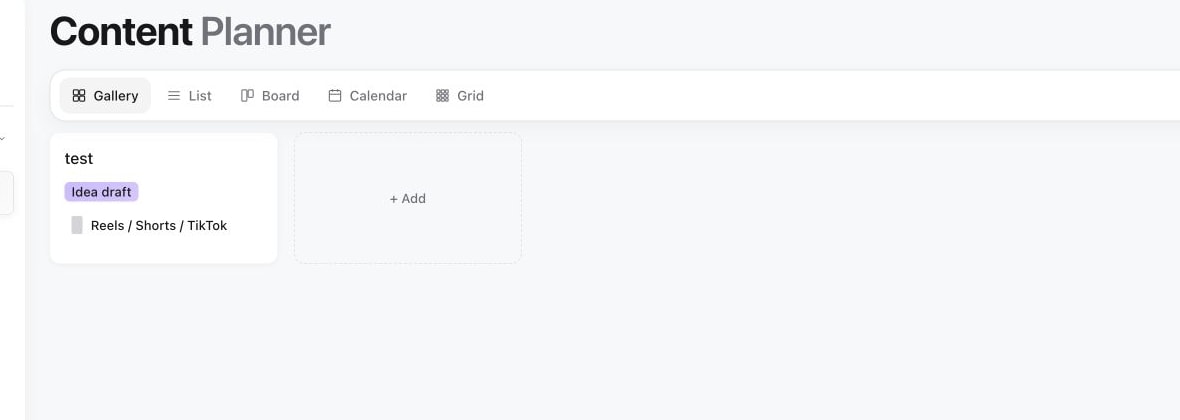
- 02In the sidebar, open Content and select Content planner, then select New.
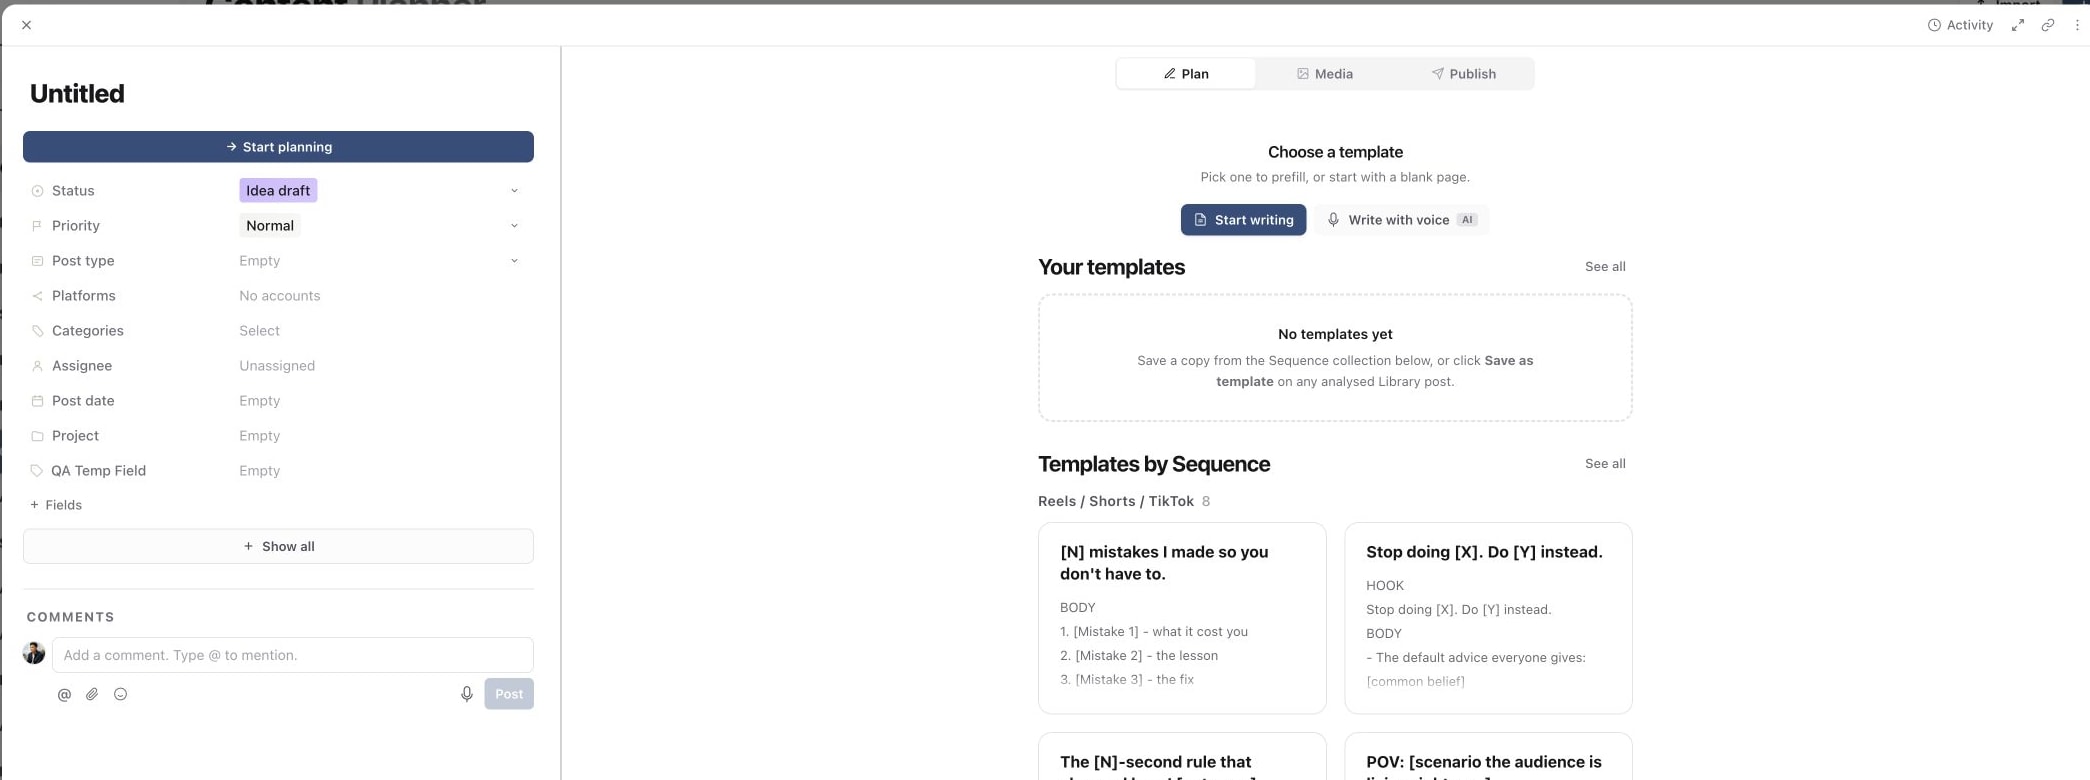
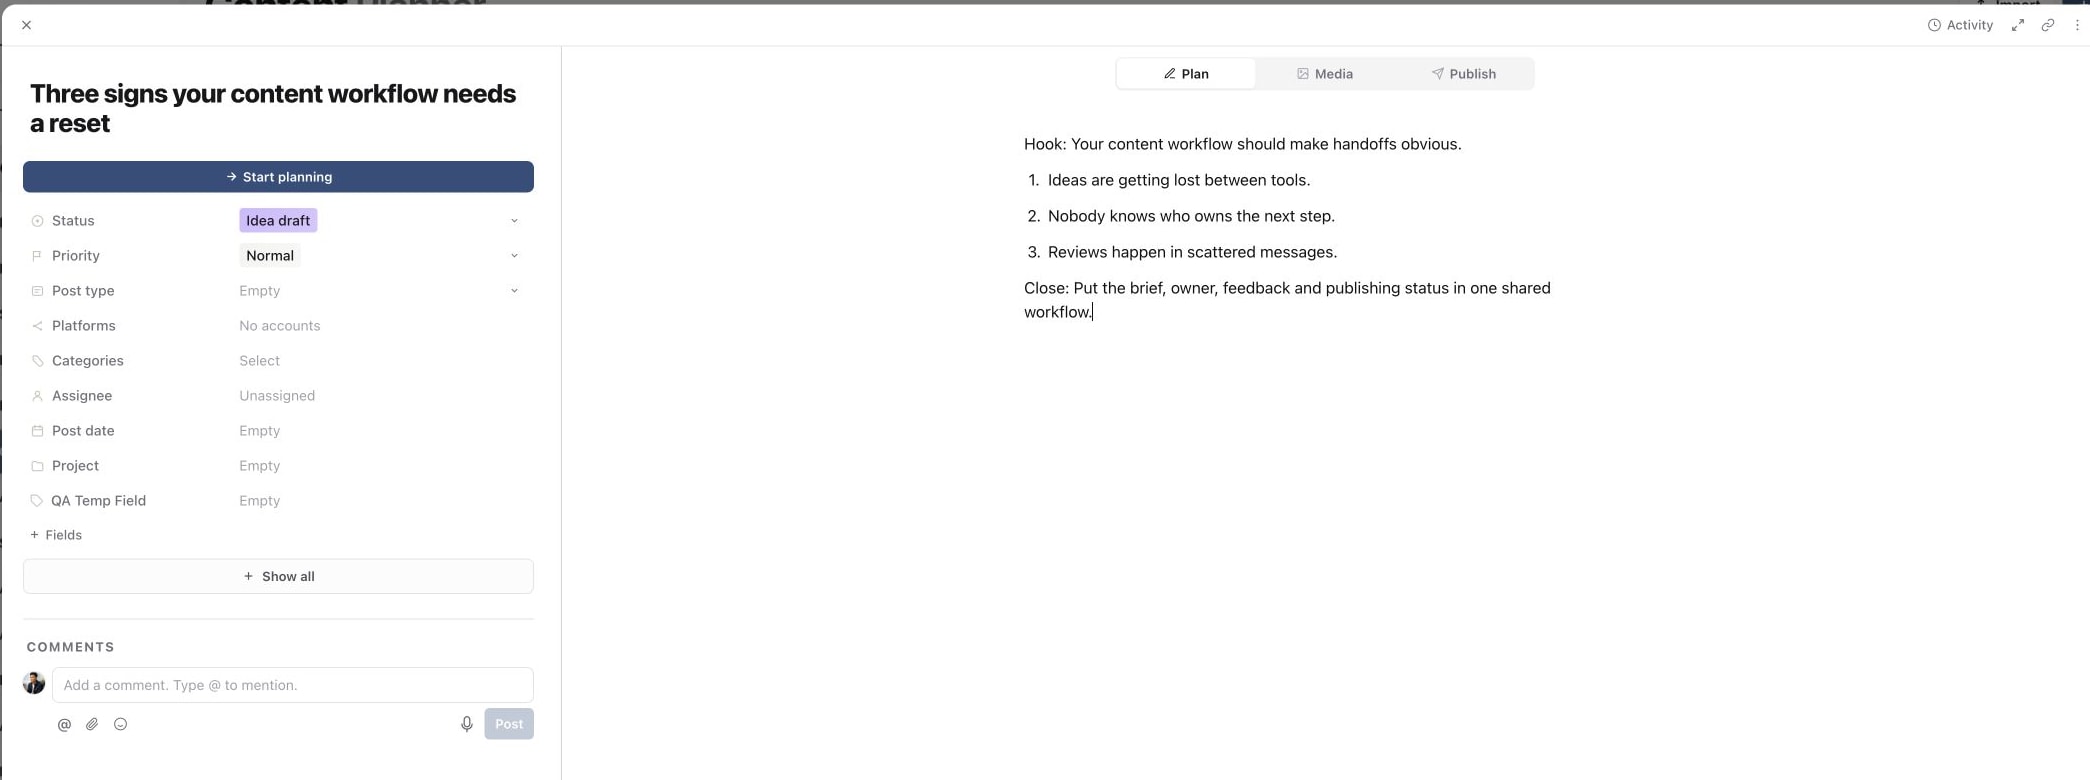
- 03Replace Untitled with a useful working title, such as “Three questions to ask before hiring a video editor”.
- 04In Plan, choose Start writing or a template. Describe the audience, the main point and what needs to be created.
The new piece starts as Idea draft. Changes save automatically; wait for the Saving indicator to finish before closing the page. There is no separate Save button for the piece.
1. Start in Content Planner
2. Create a blank content piece
3. Add a working title and useful brief
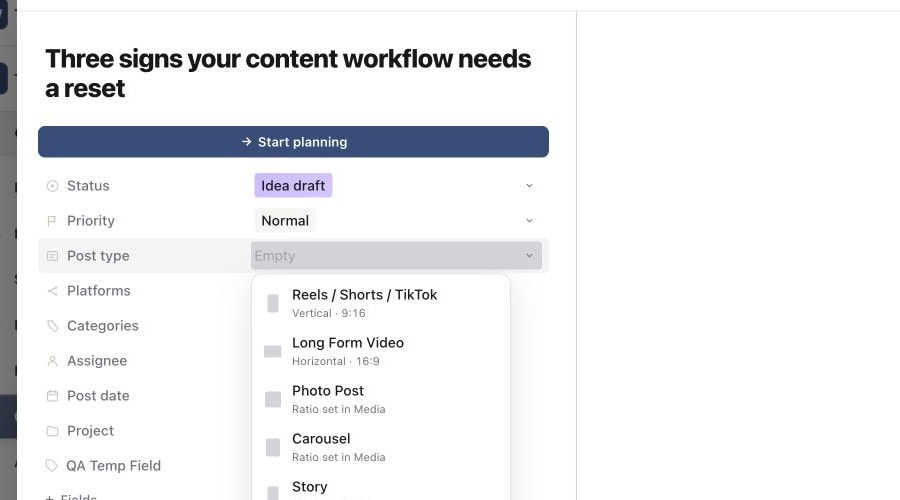
4. Choose the intended post type
5. Confirm the piece is ready for the next hand-off
Write a brief someone can act on
A useful plan answers four questions: who is this for, what should they learn, what example will make it clear, and what should they do next? Add reference links or production notes in the same Plan so the person doing the work can find them.
For example: “For small business owners hiring their first editor. Explain three questions that reveal whether an editor understands the brief. Film one example for each question, then invite viewers to save the checklist.”
Use Assignee to name the person responsible for the next step. Add a Project if the piece belongs to a campaign. You can leave Post date empty while developing the idea. Setting a date later helps you plan, but does not submit the post for publishing.
When you begin developing the idea, open Status and choose Planning. If your brand uses custom statuses, choose its planning status instead. For the meaning of each stage, see content statuses.
Move the same piece through production
Use the three tabs as the work develops:
- Plan: the brief, script, references and working notes.
- Media: upload and review the creative, including revised versions.
- Publish: choose the post type and connected accounts, write the final caption, preview and set the publishing time.
Writing a script in Plan does not automatically make it the published caption. Put the final audience-facing copy in Caption under Publish. Switching tabs keeps you in the same piece; you do not need to create another post for the next stage.
If someone needs to sign off, send the relevant stage for approval. When everything is ready, follow Schedule a post or publish it immediately.
Find it again
Return to Content and search for the title. If it is missing, check the selected brand and any active filters before creating another copy. Your first piece may be in an Idea draft group, even if you were previously looking at work in another stage.
Was this page helpful?
Related articles
- Send for approvalChoose the review step and reviewer for one or multiple posts, use Default per post for mixed batches and confirm the approval request.
- Content statusesCustomise status colours, add and reorder custom statuses, choose approval steps and set default review routes for your workspace or brand.
- Schedule or publish nowConfirm a future schedule or publish immediately, then check delivery for each selected account.
Need more help with this?