
Use Status to show the stage a post has reached, and Assignee to show who should act next. Every workspace starts with Sequence's default statuses. On Pro you can customise colours, add statuses, choose approval steps and set review routes for the workspace or an individual brand.
Default statuses
Default statuses keep their names, groups and relative order, and can't be deleted. You can change their colours and customise the approval behaviour of workflow statuses. Plan, Media and Publish hold the main workflow; Other holds work outside that flow.
| Group | Default statuses |
|---|---|
| Plan | Idea draft, Planning, Plan review, Plan changes, Plan approved |
| Media | In production, Media review, Media changes, Media approved |
| Publish | Final review, Post changes, Ready to post, Scheduled, Publish failed, Published |
| Other | None. Add your own for work outside the flow. |
The internal Publishing state is system-managed and is normally shown with Scheduled in the planner.
On hold is no longer a default status. Workspaces and brands that had posts on hold when this changed now have a custom status called On hold holding the same posts. You can rename, recolour or delete it like any other custom status.
Change a post's status
Open the post and select its current Status in the left properties panel. Choose the stage that accurately describes the work. Changing one post's status moves that post only.
Choosing an enabled approval step asks you to choose a reviewer. To send prepared work from the planner, right-click it and select Send for approval, then check Review step before choosing the reviewer. Read Send content for approval
Use Publish to schedule or publish. Status labels are not a substitute for confirming the accounts, content and publishing time. Scheduled and published posts can have editing restrictions.
Add custom statuses
Custom statuses are included in Pro. Workspace owners and admins manage workspace statuses. People who can manage a brand's settings manage that brand's statuses.
- 01Open your profile menu at the bottom of the sidebar and select Settings.
- 02Under Workspace, select Statuses to set statuses for every brand that follows the workspace. Under Current brand, select Statuses to work on one brand.
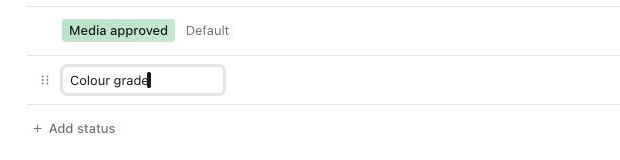
- 03In the group you want, select Add status, type a name and press Enter.
- 04Select Save changes.
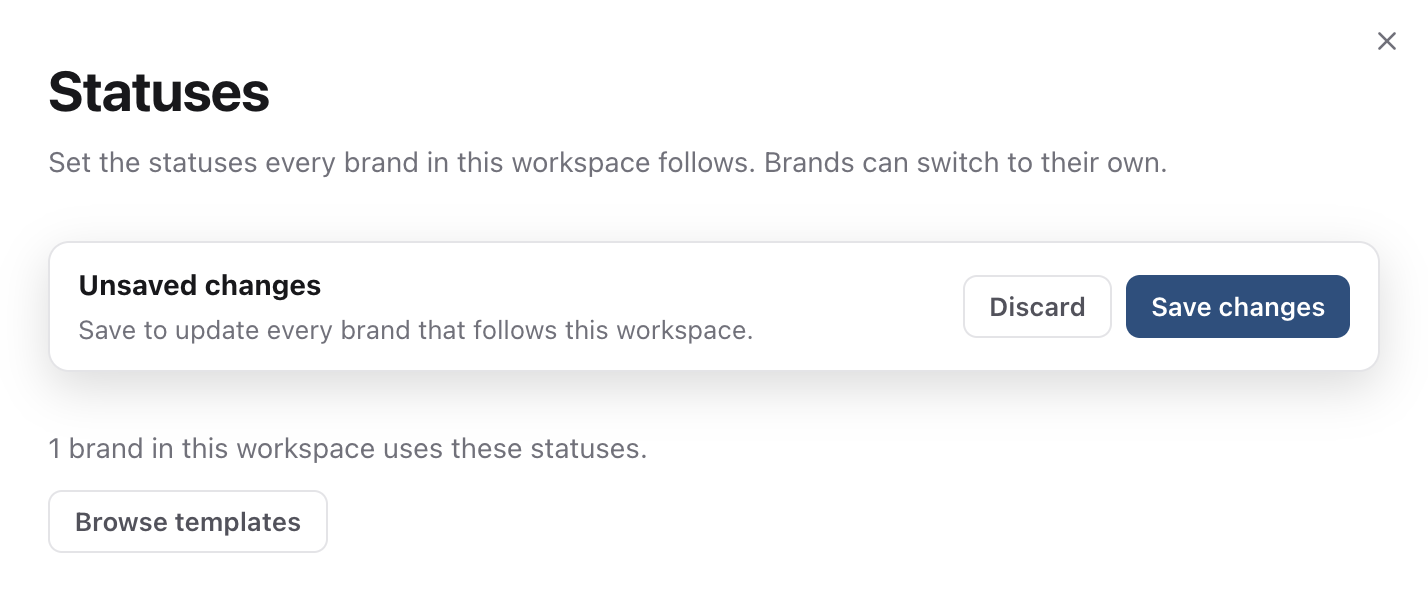
Nothing changes until you save. While you edit, the Unsaved changes bar at the top of the page shows Discard and Save changes.
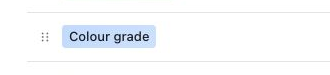
On each custom status row you can:
- Rename it by selecting its name.
- Change its colour with the swatch on the right.
- Drag the handle on the left to reorder it or move it to another group. Custom statuses can sit between defaults. In Publish they stay above Scheduled. You can also focus the handle and use the up and down arrow keys to reorder within its group.
- Use the Duplicate icon to create a custom copy. Copies keep the current colour and approval behaviour. Built-in workflow statuses, including approved and changes-requested statuses and Ready to post, can also be duplicated.
- Delete it with the Delete icon.
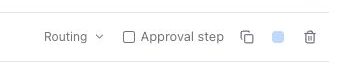
The controls on the right let you expand routing, choose whether this is an approval step, duplicate it, change its colour or delete it.
Change any status colour
Select the colour swatch on a status row, choose a colour, then select Save changes. This works for every built-in and custom status, including Scheduled, Publish failed and Published. The new colour appears wherever that setup is used.
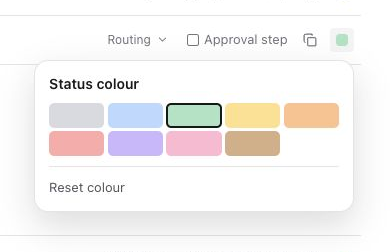
For a built-in status, Reset colour restores Sequence's original colour. Save the reset to apply it. Changing a colour does not change the status's approval or publishing behaviour.
Scheduled, Published and Publish failed remain system-managed: they cannot be duplicated, reordered or turned into approval steps. Their colours are still editable.
You can also add a status from a post's Status picker. Select + beside a group heading, or select Edit brand statuses or Edit workspace statuses to open these settings.
Workspace or brand statuses
Brands follow your workspace statuses unless you change it. The workspace Statuses page shows how many brands in the workspace use its statuses.
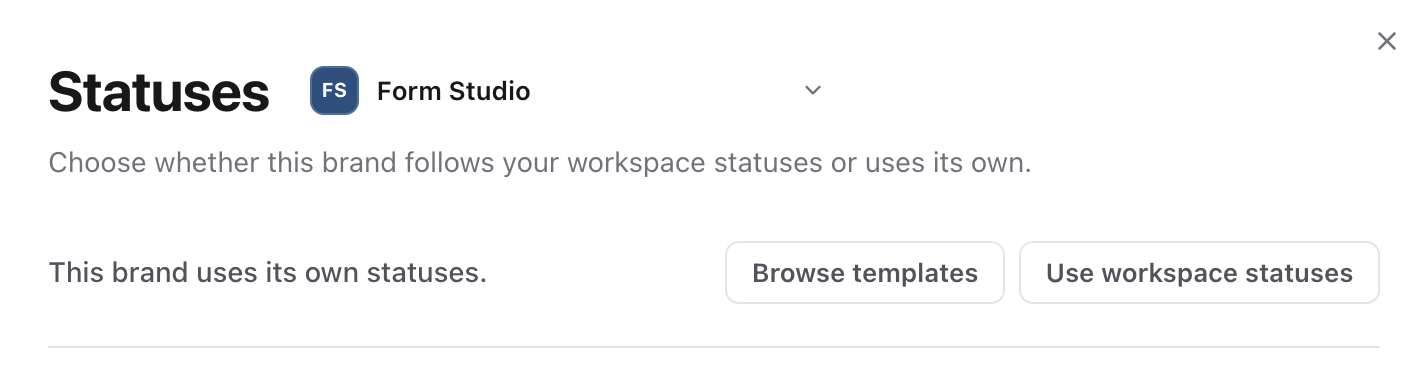
To give one brand its own list, go to Settings, then Current brand, then Statuses, and select Use custom statuses for this brand. Sequence copies the workspace statuses so you can change them for that brand only.
To return a brand to the workspace list, select Use workspace statuses. The brand's own statuses are removed. If the brand has posts in statuses the workspace doesn't have, Move pieces to workspace statuses asks where those posts should go first.
Delete a status that posts are using
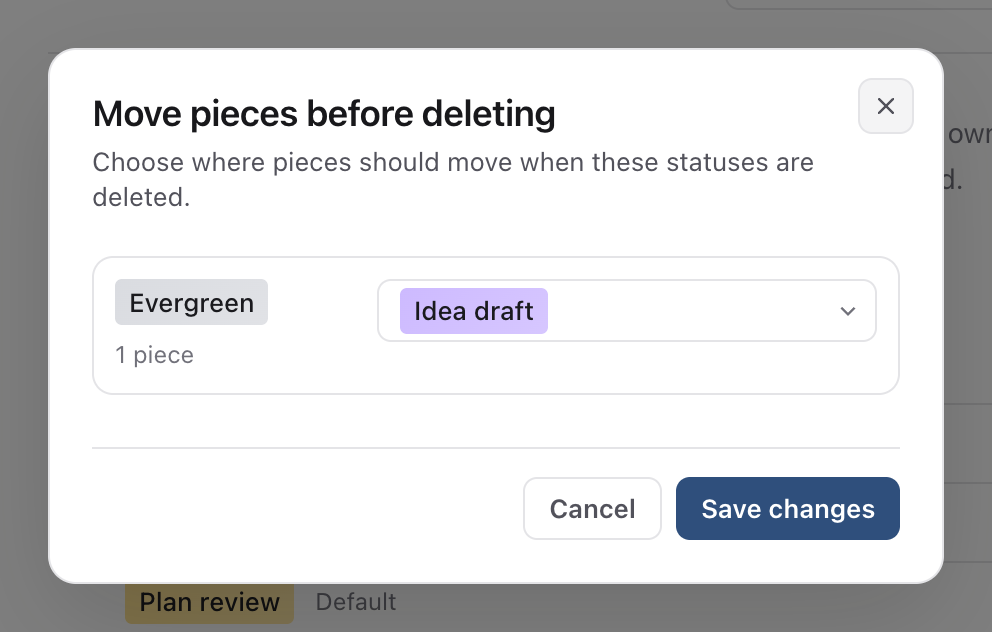
When you save after deleting a status that posts are using, Move pieces before deleting asks where those posts should go. Choose a destination for each deleted status. You can move posts to Idea draft, Planning, In production or another custom status. Posts are moved, never deleted, including posts in the bin.
Move posts into new statuses
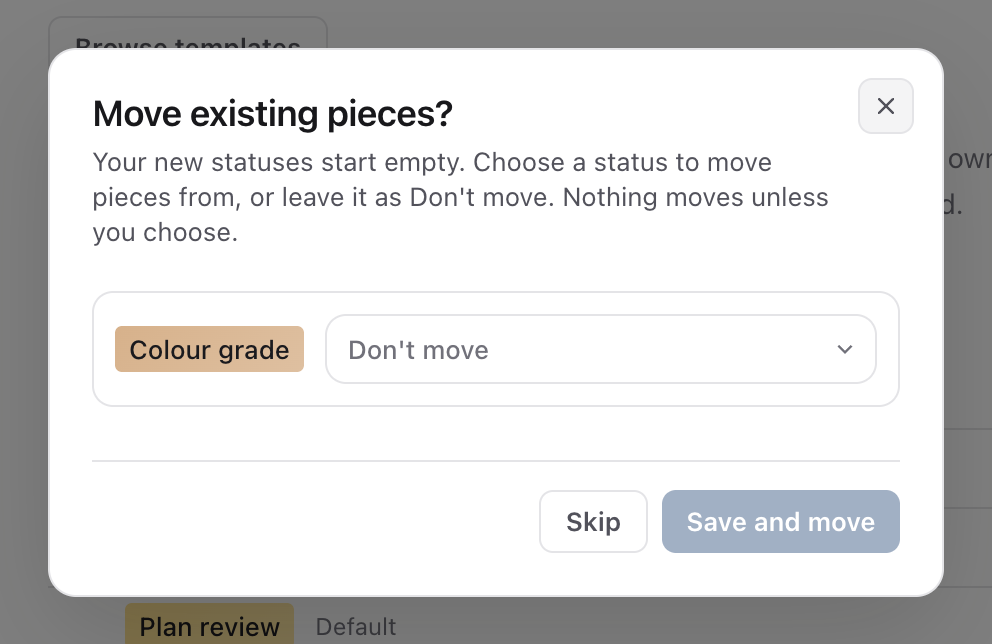
When you save new custom statuses, Move existing pieces? lets you move all posts from one existing status into each new status. Leave a row on Don't move to keep those posts where they are, or select Skip to save without moving anything. Posts in review, scheduled or published are never moved.
Choose approval steps and routing
Tick or untick Approval step on built-in workflow statuses or custom statuses in Plan, Media or Publish. This controls whether entering the status requires a reviewer. Statuses in Other cannot be approval steps.
Turning a step off cancels pending requests for that step; it does not approve the posts. Check affected work and send it to an enabled review step when it is ready.
Expand Routing on a status row. Review steps start expanded; ordinary workflow rows stay compact until you open them.
When sent for approval chooses the review step used by Send for approval. Leave the destination marked Default to use the normal route for that status, or select another enabled review step.

| Current status | Default review destination |
|---|---|
| Plan approved | Media review |
| Media approved | Final review |
| Plan changes | Plan review |
| Media changes | Media review |
| Post changes | Final review |
If no review step is enabled for a stage, there is no default destination for that stage. Choose an enabled step explicitly or update the routing.
For a status marked as an approval step, set its decision outcomes too:
- When approved chooses where an approved post moves.
- When changes requested chooses where a post moves for revisions.
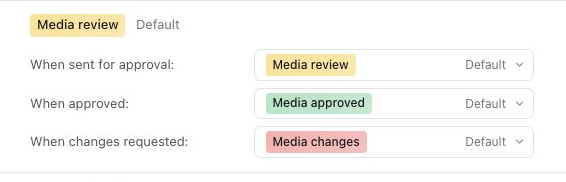
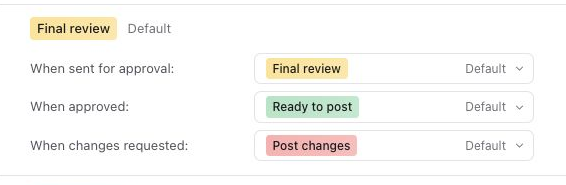
The destination marked Default shows the normal outcome. Media review defaults to Media approved or Media changes. Final review defaults to Ready to post or Post changes. Existing custom routes remain in effect until you change them.
A decision outcome cannot be another active approval step, Scheduled, Publish failed or Published. Select Save changes to apply the setup.
Start from a template
Select Browse templates on the Statuses page.
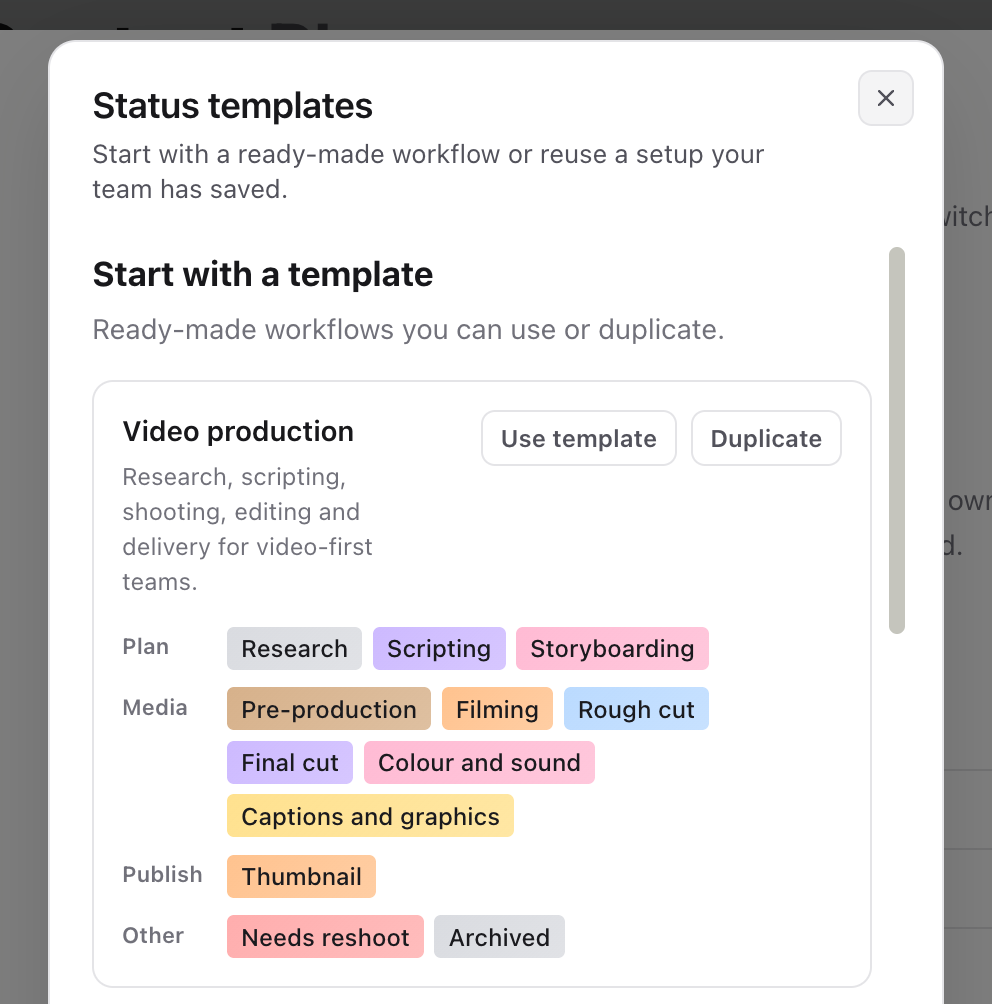
- Start with a template lists ready-made workflows, such as video production, agency sign-off and podcasts.
- Your custom templates lists setups your workspace has saved.
Use template loads the template into the editor as unsaved changes, so you can remove anything you don't need before you select Save changes. Statuses with the same name keep their posts. If you already have unsaved changes, Sequence asks you to discard them first.
To save your own, select Save current setup as template. It saves the statuses shown in the editor, including changes you haven't saved yet. Workspace owners and admins can rename or delete saved templates.
Free and downgraded workspaces
Free workspaces use the default statuses. If a workspace moves from Pro to Free, its custom statuses stay and posts can keep using them, but they can't be added to or edited. You can still delete them. Upgrade to Pro to change them again.
Hide empty board columns
In Content, then Board, open Layout and switch on Hide empty columns. This hides empty columns in the current view without deleting statuses or moving posts. Switch it off to see the empty columns again.
If you arrived from Notion, the number of board columns does not mean that all of those statuses were imported. Mapping a Notion property to Status matches its values to Sequence statuses. An imported custom field named Status is separate metadata. Read Import a content plan before starting another import.
Match status to the next handoff
Use Planning when the client needs to supply information. Use Plan review when a prepared idea or script needs their decision. After plan approval, Plan approved can represent ready to film; In production can cover filming and editing.
Use Media review for a decision on the creative. Media approved can remain the status while the social media manager writes the caption, provided the creative really has been approved. Send the complete post for Final review, then move on from Ready to post to scheduling.
You do not have to use every stage for every format. If your team has a step Sequence doesn't include, add a custom status in the group where it happens. See the example team workflows.
Was this page helpful?
Related articles
Need more help with this?