
The Content Planner is where you organise a brand's ideas and posts before, during and after production. Use it to see what needs work, who owns the next step and which content is ready to move forward.
Open the right brand's planner
Select your workspace and brand, then in the sidebar open Content and select Content planner. Choose New to create a piece, Import to bring in an existing plan, or open a card or row to continue working on it.
An imported plan appears alongside the brand's other content. Before importing the same file again, search for a title from the first import. See Import a content plan for Notion, CSV and XLSX instructions.
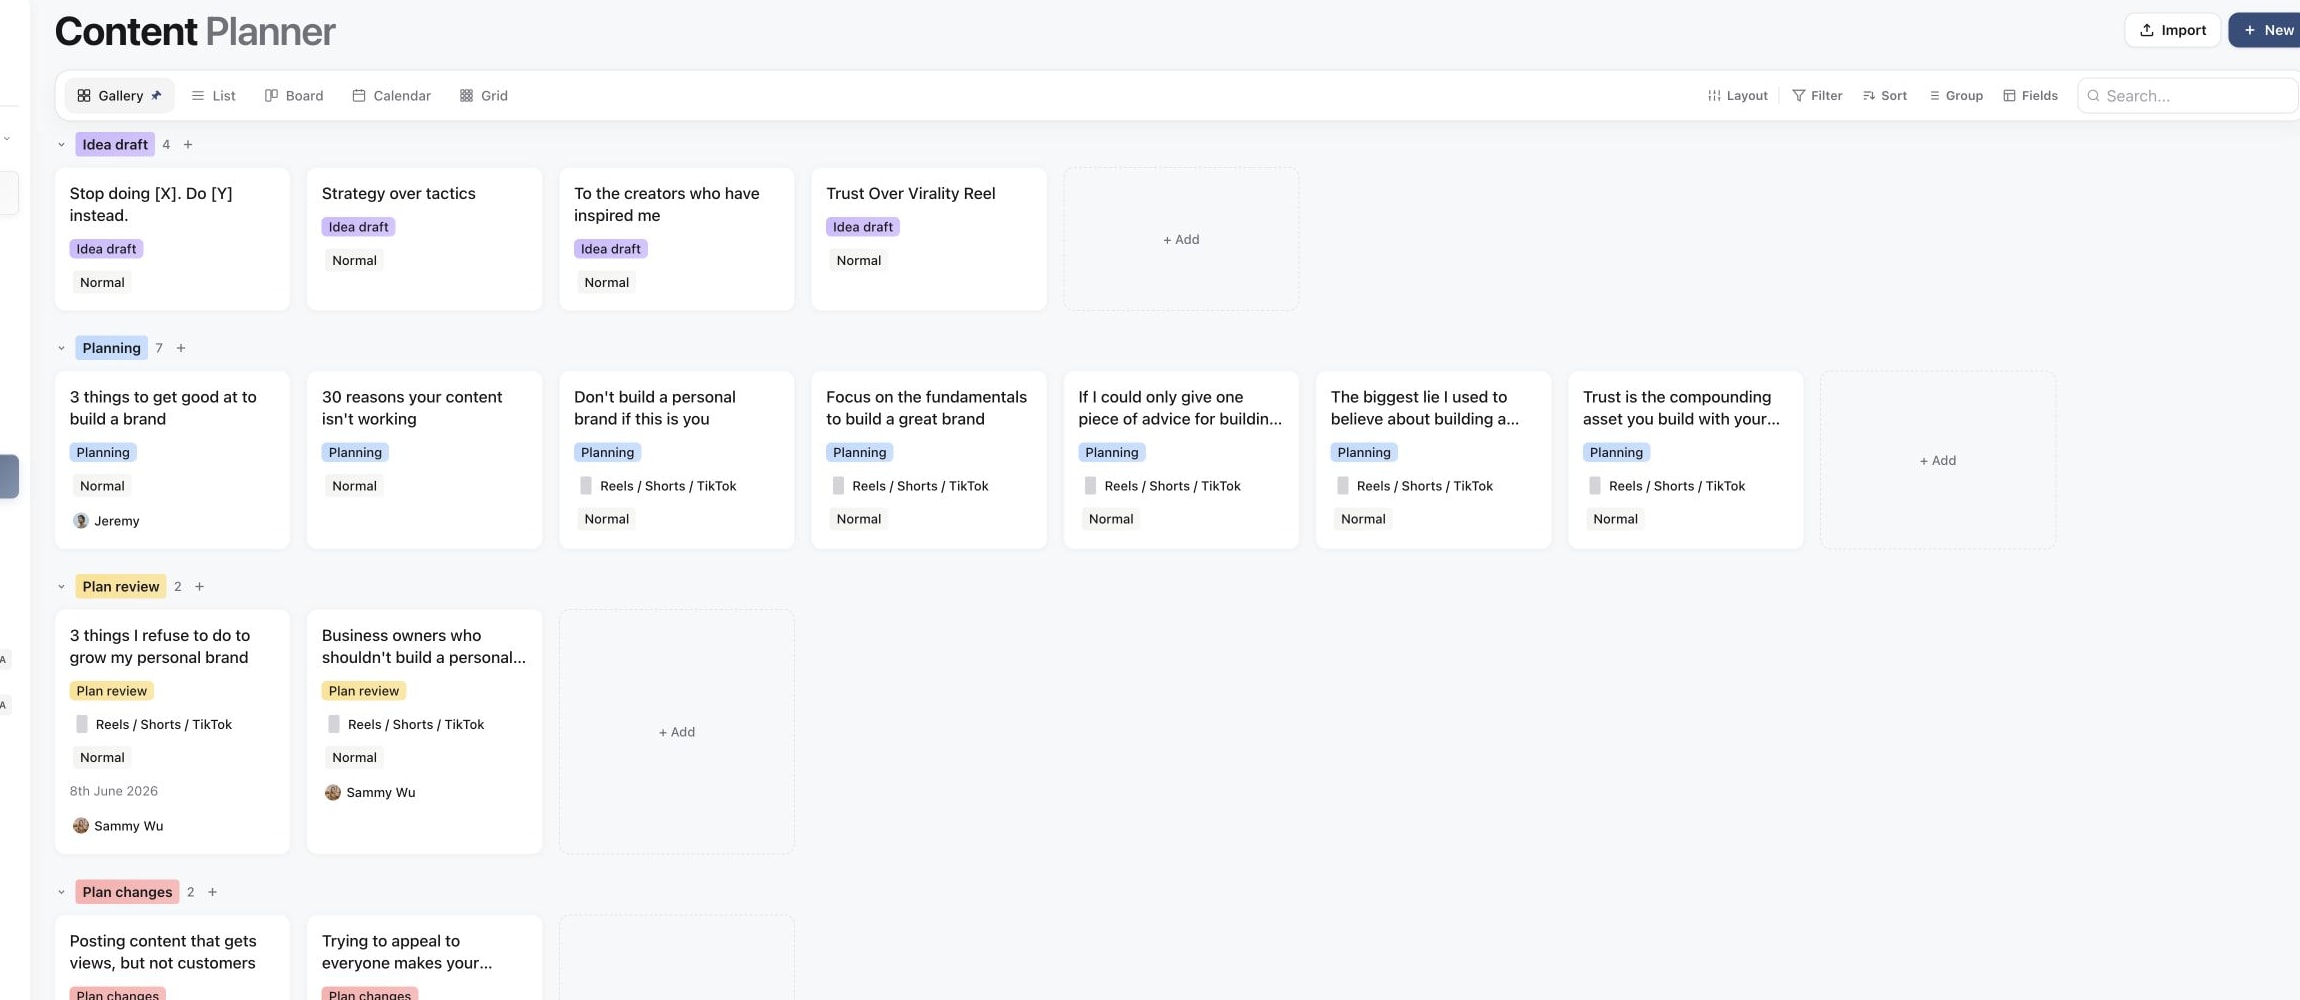
1. Scan content visually in Gallery
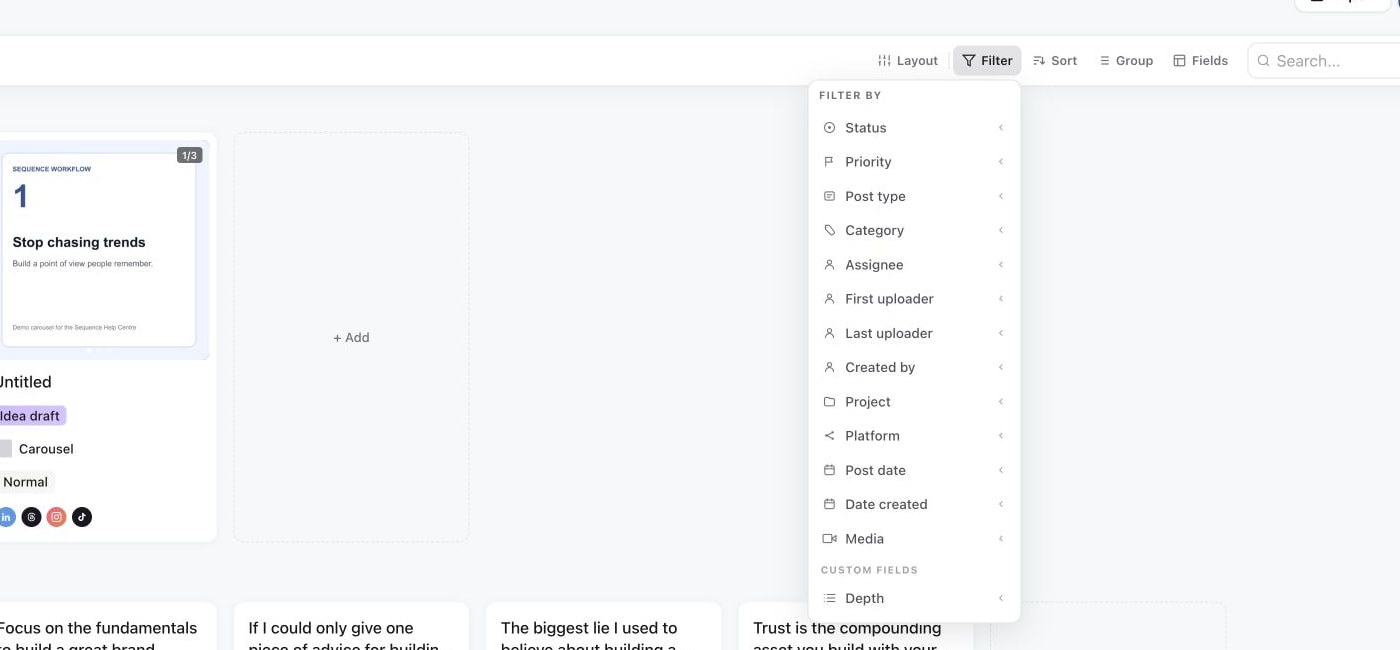
2. Focus the planner with filters
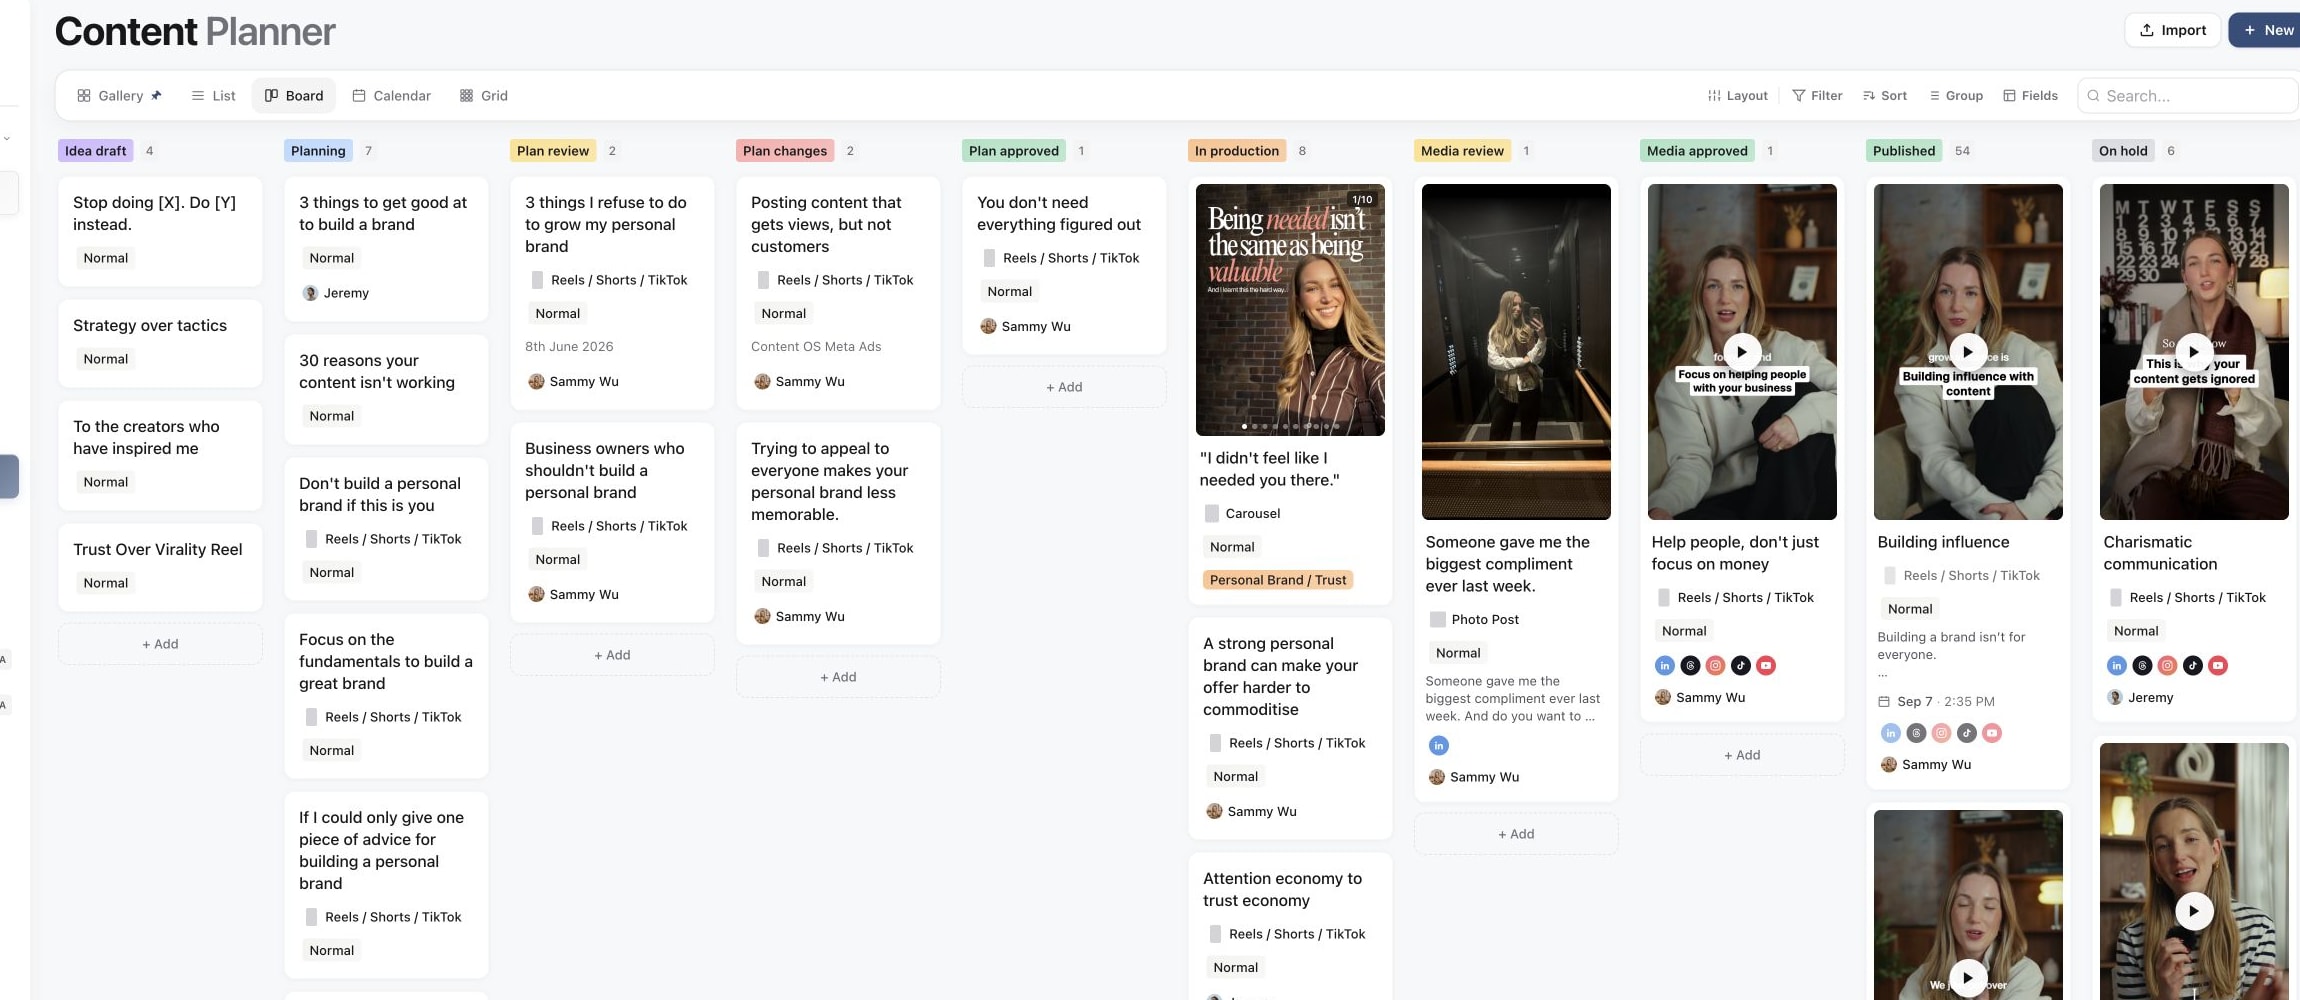
3. Track work across status columns
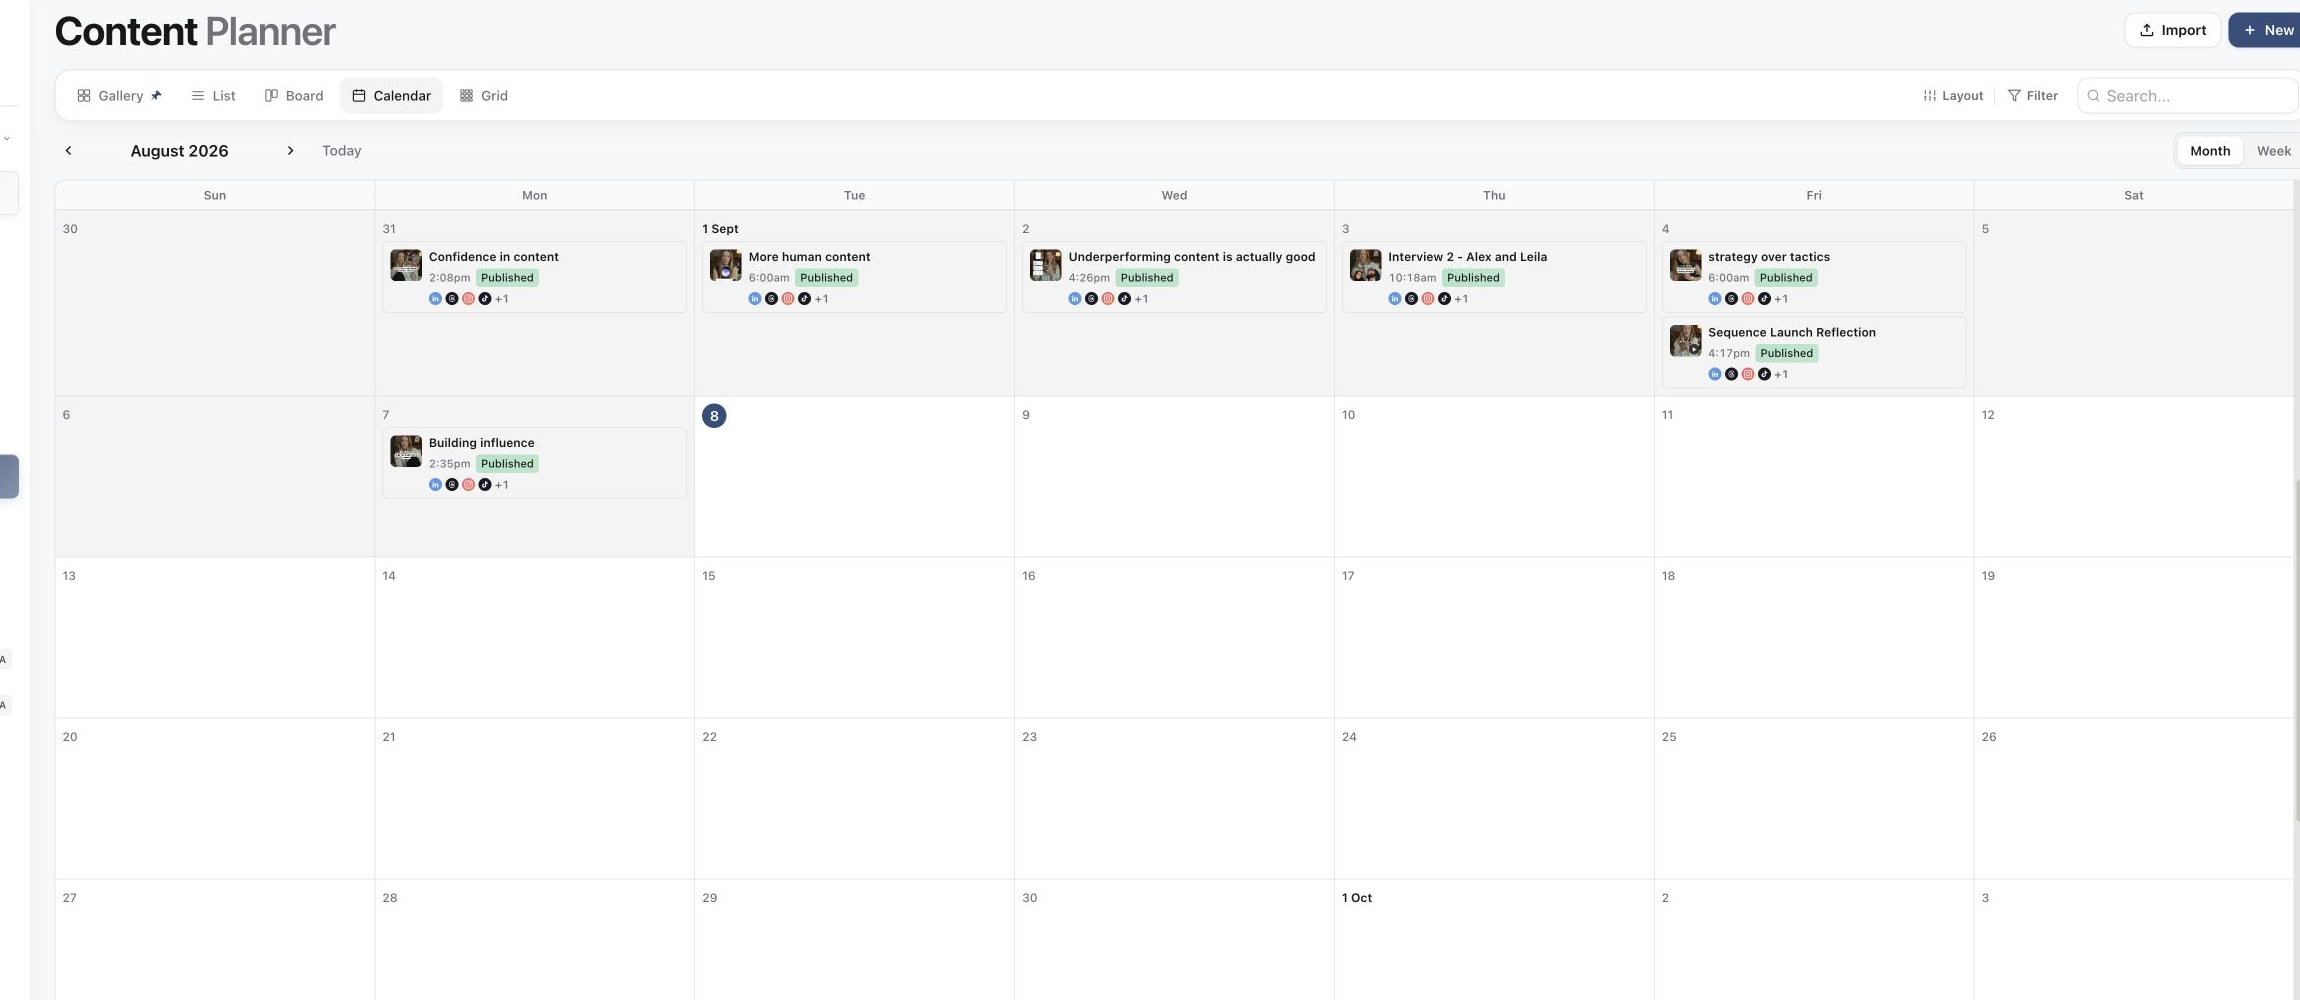
4. Check content against dates
5. Review many properties at once
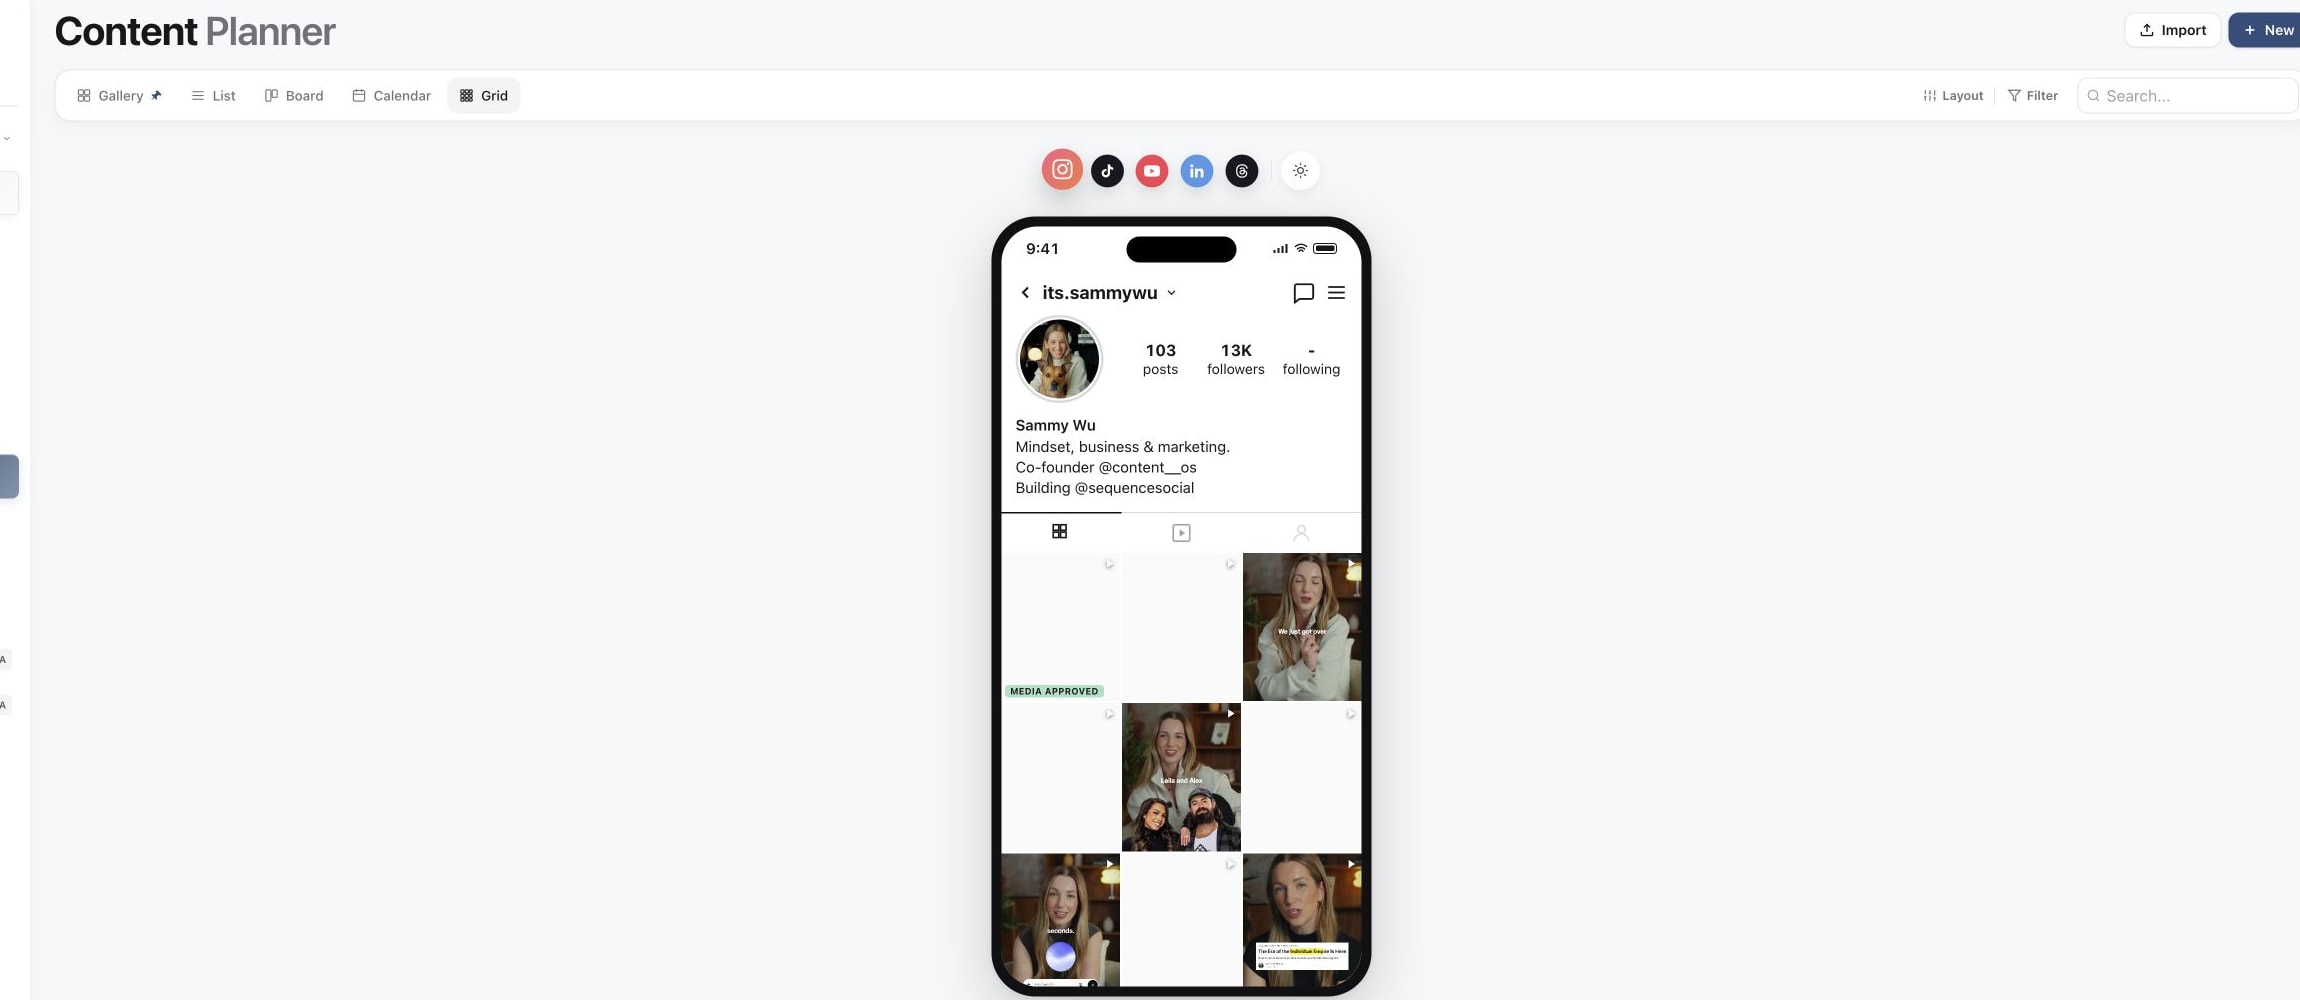
Choose a view for the question you are answering
The view buttons change how you see the same content. Switching views does not create copies or move posts into another workflow.
| View | Useful when you want to… |
|---|---|
| Gallery | Browse content as cards and recognise pieces by their creative. |
| List | Scan titles and properties in rows. |
| Board | Follow work across status columns and spot where it is waiting. |
| Calendar | Look at content by its planned date. |
| Grid | Review the visual arrangement of content. |
Choose Board for a production meeting and List when you need to compare properties. A date on the Calendar is a planning date; check publishing targets or Schedule to confirm a post has actually been queued.
Show the work that matters today
Use Filter to narrow the content, Sort to change its order and Group to collect similar pieces. Use the search control to find a title. Where available, Fields controls which properties appear and Layout adjusts the presentation of the current view.
For a useful daily check, filter to your assignee or the status you are working on, then open the next piece. Clear those filters when you want the full brand plan again.
If Board looks crowded, open Layout → Hide empty columns. This hides empty columns in the view; it does not delete statuses or change any posts. See content statuses before reorganising the workflow itself.
Make the next hand-off clear
Open a piece to update its Assignee, Status, Post date or Project. For example, assign a piece to the video editor while the creative is being prepared, then use the approval action when it is ready for the client's decision.
A status describes the stage of work. An assignee describes who is responsible. A review request gives someone a decision to make. Use Send for approval when you need that review rather than relying on a status change alone.
When content seems to have disappeared
Check the selected brand, clear search and filters, and expand any collapsed group. Try List if a date or layout is hiding the piece from your current view. If it was deleted, check Bin before recreating it. These checks also help avoid duplicates when several people are updating the same planner.
Was this page helpful?
Related articles
- Send for approvalChoose the review step and reviewer for one or multiple posts, use Default per post for mixed batches and confirm the approval request.
- Content statusesCustomise status colours, add and reorder custom statuses, choose approval steps and set default review routes for your workspace or brand.
- Import a content planConnect Trello, Asana, Monday.com, ClickUp or Notion, or upload an export, then map fields and statuses, preview, and bring the posts into the right Sequence brand.
Need more help with this?