
Use a post date to place content in your plan, and check the time zone before scheduling it. A date in the planner is not, by itself, an instruction to publish.
Set the date and time
- 01Open the content piece and select its post date field.
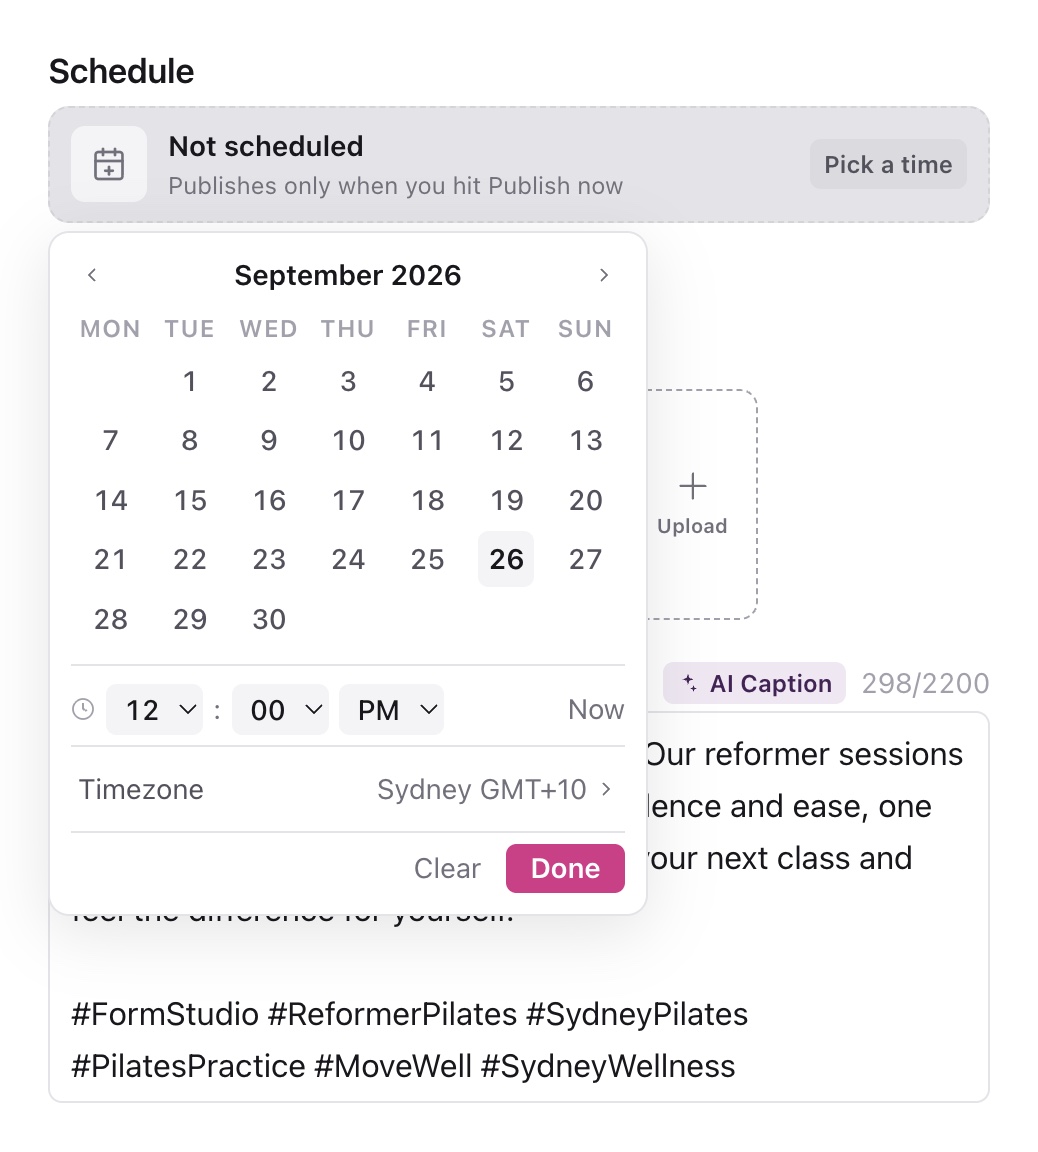
- 02Choose the date in the calendar and adjust the time.
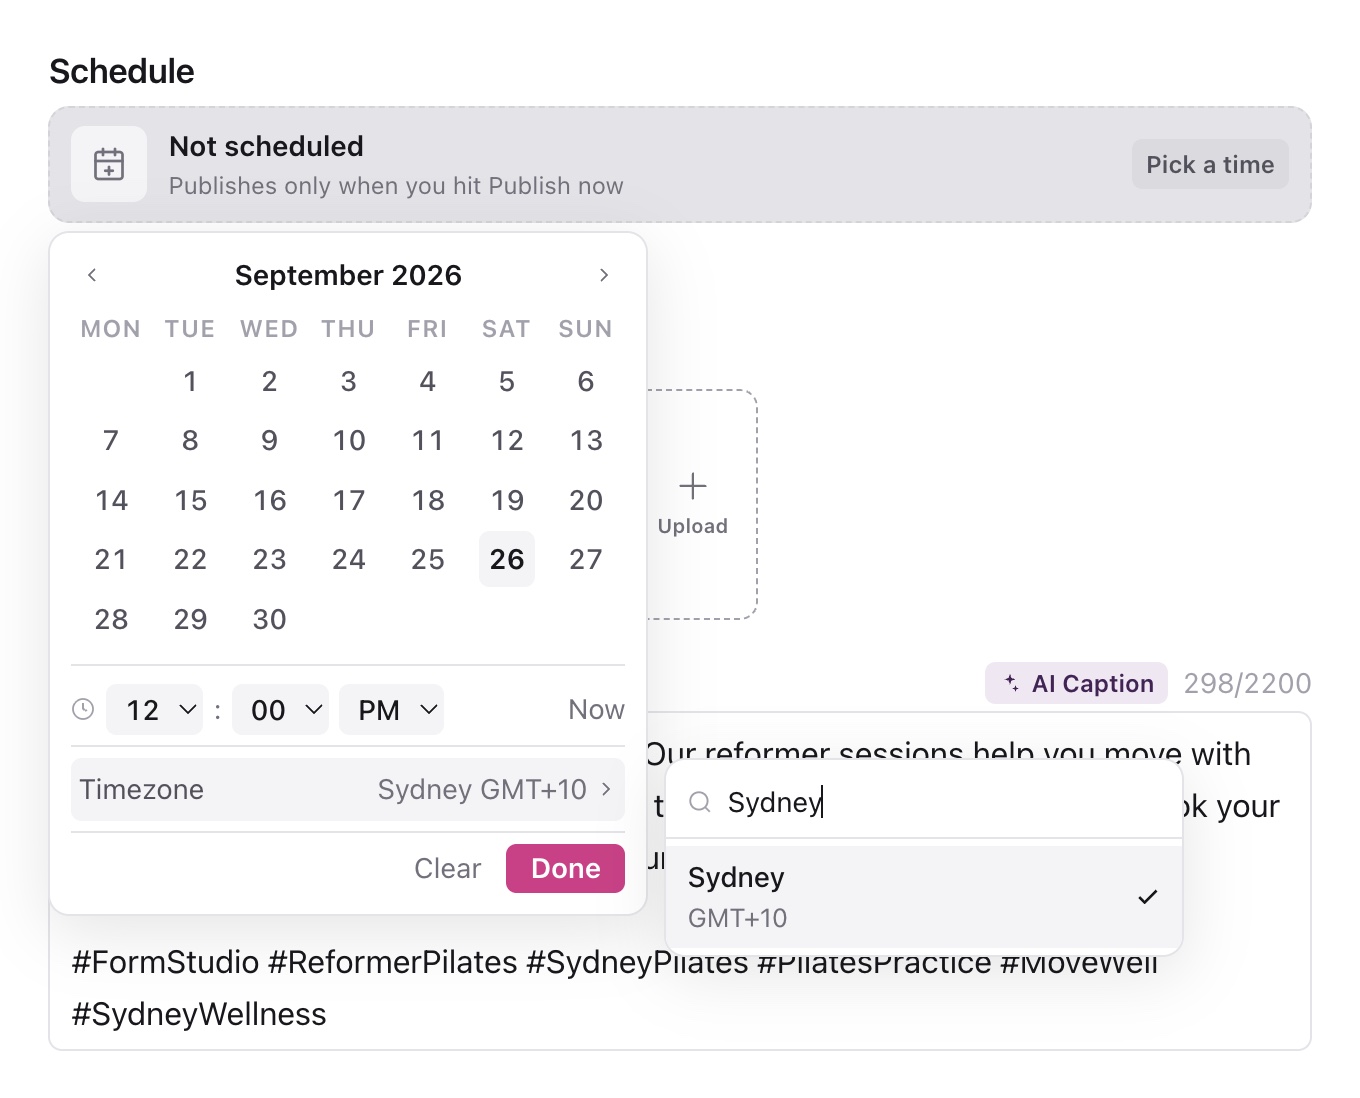
- 03Select the city and time-zone row to search for the intended zone. Review the displayed date and time again after changing it.
- 04Close the picker and check the date shown on the piece.
The picker applies date and time choices as you make them. Use a named city or time zone that matches the publishing plan, particularly when the client and the person preparing the content work in different regions.
1. Choose the post date and time
2. Check the publishing time zone
Check the zone before confirming a schedule
Agree on the intended local time with your team. “9 am” is incomplete when the client and social media manager are in different time zones. For example, record the intended city as well as the time, then check what the picker displays for that zone.
For a future date around a daylight-saving change, confirm the intended local time in the named time zone. Avoid relying on a fixed offset copied from a different month.
Open Publish, review the destination accounts and complete the scheduling confirmation. Check the resulting target states. Changing a workflow status to Scheduled or adding a date does not replace that confirmation.
For a post already submitted for scheduling, use the controls for the existing scheduled post and verify its updated targets. Do not assume that an unrelated planning-field change has updated a platform's queue.
The time looks wrong
Reopen the picker and compare the date, time and selected zone with the team's intended local time. Check that you are editing the correct piece and, for submitted content, inspect the scheduling result in Publish. Include both the intended zone and the displayed time when asking support to investigate.
Was this page helpful?
Need more help with this?